Choose the product’s designed gap range rather than simply a thicker strip. Tape width, uncompressed thickness and supported gap are different values.
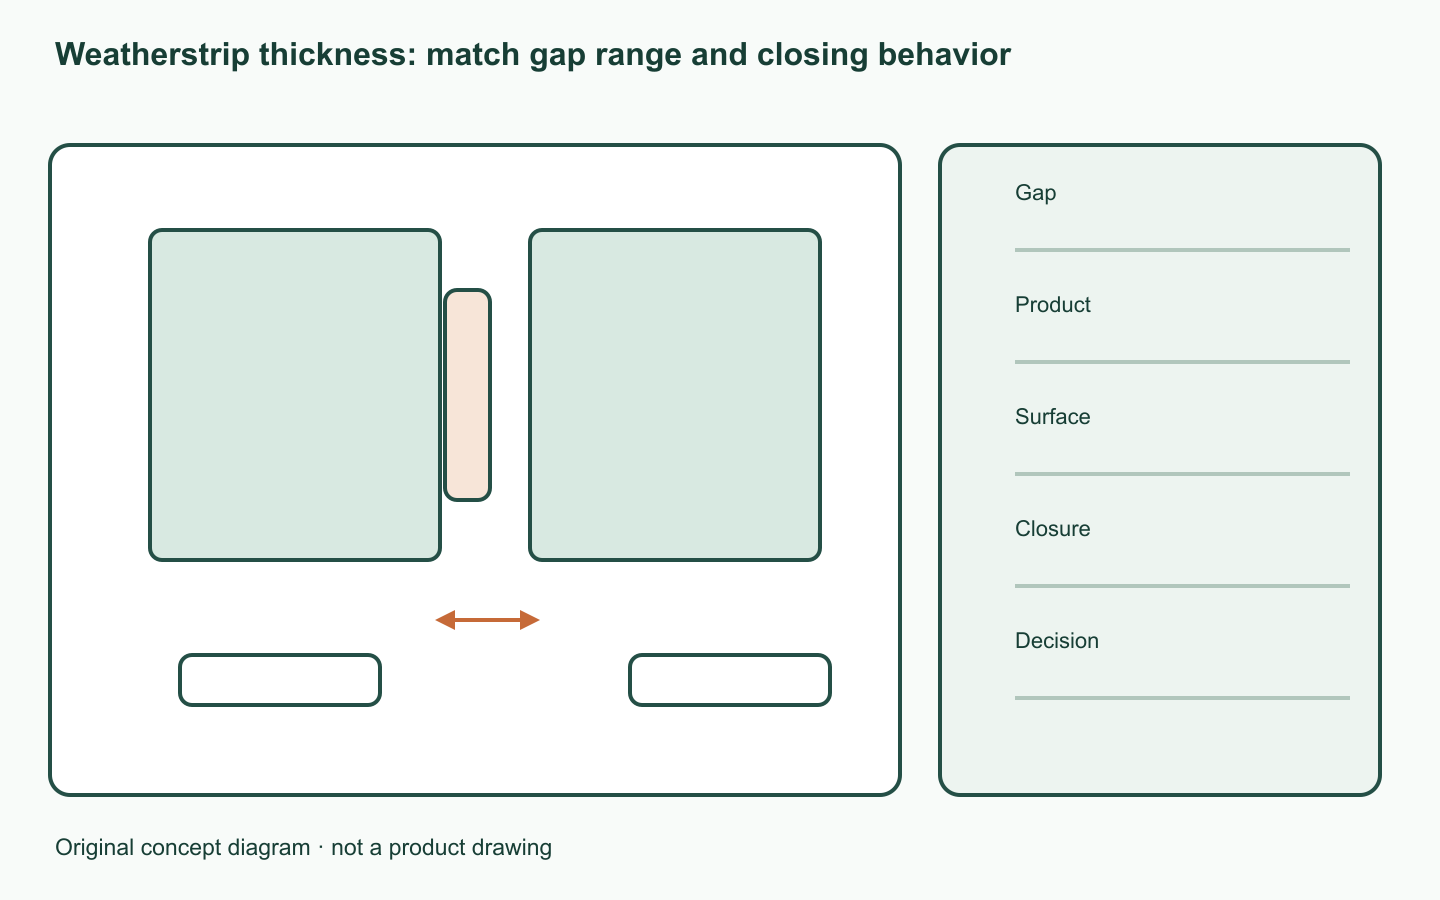
Identify the intended gap
Confirm an ordinary door/window closing edge. Find the original part code first when available; do not alter intentional ventilation or protective door functions.
Read the product-specific range
tesa PE Foam S specifies gaps of 1–3.5 mm. This is that product’s range, not a universal rule for foam or E/P/D profiles.
Record around the door or window
Different top and side gaps need separate records. Note adhesive-surface instructions, existing strips and possible double layering.
| Check | Record |
|---|---|
| Gap | Separate top and side millimetres |
| Product | Exact code and supported gap range |
| Surface | Adhesive instructions and existing strip |
| Closure | Normal closing and latching |
| Decision | Keep / remove and reconfirm product |
Stop if closure worsens
Check closing, latching and opening after permitted application; do not force the door. Outside the range or poor closure means reassessing the product. The linked guide treats glass condensation separately.
A worked example
Hypothetical window: top gap 2 mm, side gap 5 mm, candidate range 1–3.5 mm. A matching top value does not cover the side. Do not declare the whole perimeter suitable.
Official sources checked
Official sources checked on 12 October 2026. Apply the cited model and market conditions. Examples are hypothetical records, not hands-on tests.